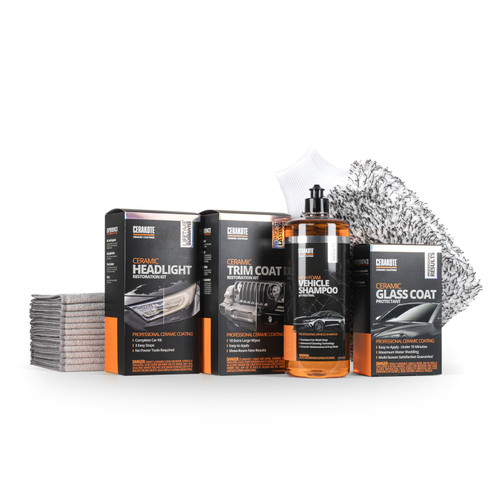
The Cerakote Headlight Restoration kit is completed in just 3 simple steps with no power tools required. What makes us different? We manufacture the true ceramic technology that bonds to your headlights, providing long-lasting UV protection that stands the test of time.
- Each kit Includes enough product to restore and protect 2 headlights. The contents of each kit are:
- (8) Step 1 Oxidation Removing Wipes
- (1) Sanding Pommel
- (4) Sanding Discs (2 of Each Grit)
- (2) Step 3 Ceramic Coating Wipes
945 Reviews Hide Reviews Show Reviews
-
Its okay, not perfect.
I was really excited to try this product as i heard great stuff about it. As a person who knows how to clean and work on cars i would say ease of use and direction is very straight forward. However i need to leave a bit of a negative review as light scratches are still visible in the lenses. I will need to go back and sand them again and re ceramic coat it myself to get rid of them. So the main fault is that their step 3 will not fill in all the scratches. A fine buff with a machine prior to this step will be perfect.
-
Worth it if you give all attention it needs.
Take your time. The sanding is very important. What you see in sanding, you will see after clear. After 1 hour, my headlight rejuvenate about 15 years ago. Be carefull with fly, they stuck on the headlight when the clear just applied. I'm really happy. Miata 2002
-
IT WORKS SAVE THE MONEY AND JUST BUY IT
Works great my light was pretty bad and was worried it came out really good save me money because passenger side was brand new and was going to replace light to match tried this stuff and was surprised with the results
-
Nice
Worked great. Excellent packaging and instructions. I will see about longevity.
-
Results were amazing!!!
This product is awesome!! You can see in my pic the difference between my left and right headlight. My husband and I couldnt believe it. There were 3 steps and they were super easy! I would totally recommend this product!
-
Seems good thus far -- some sanding tips too
Did my '05 XC70 lights. First time to do a headlight restoration. First light I was super careful and sanded a lot, spraying water as I went. Second light I had the technique down for sanding better. Basically you want to get the crazing smoothed out and sanded with the red sandpaper. On mine the sandpaper would bite on the crazing and so you could feel it sanding, on other parts of the light it was simply smooth over it. First light I abided by the time suggestions and it didn't work as well. Second light I just sanded the crazing out and (used just enough water so I could feel friction -- too much water and it'll glide over and not sand the crazing), then used the gray fine sanding paper to smooth out everything. Second light looked great using this technique. I sanded for 20 min total (10 min red, 10 min gray). My lights had some strong crazing lines that appeared to be areas where the heat of the light hit the lens. Also it's not bad to pull the sand paper off and use your hand b/c you can get more even pressure around the various parts of the light. At the end of sanding I'd dry it off, and inspect it with a bright light. The crazing areas should be sanded up and foggy, while the rest of the light was still fairly clear. If you see the original looking crazing patterns, keep sanding with the red, then polish it with the gray again. I ended up doing the first light a second time, washed off the coating and re-sanded. Wasn't sure that was the best move but it was -- it removed the crazing I wasn't able to get off and I re-used the inside, unused coating wipe on that light. We'll see how it goes as for the longevity, but they look great now.