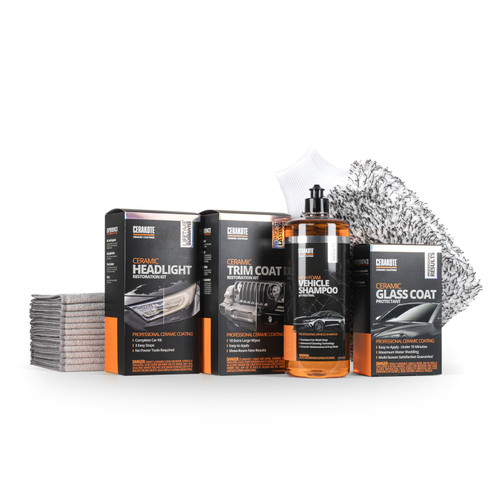
The Cerakote Headlight Restoration kit is completed in just 3 simple steps with no power tools required. What makes us different? We manufacture the true ceramic technology that bonds to your headlights, providing long-lasting UV protection that stands the test of time.
- Each kit Includes enough product to restore and protect 2 headlights. The contents of each kit are:
- (8) Step 1 Oxidation Removing Wipes
- (1) Sanding Pommel
- (4) Sanding Discs (2 of Each Grit)
- (2) Step 3 Ceramic Coating Wipes
951 Reviews Hide Reviews Show Reviews
-
Easy to use
Worked excellent
-
Headlight cleaner
Easy to use. Instructions were easy to follow.
-
Worth it
It's super easy and it works. Best bang for your buck. You won't be disappointed.
-
Worked Great!
maybe I'm just slow but it seemed to take me longer than the instructions said. However the end result was great - the headlights are certainly clearer/brighter than before. Its only been on a week or two, so I cant vouch for Longevity yet - but at that price point - even if I had to redo after a couple of years, I won't be upset.
-
Its ok
Hard to remove old coating
-
The Best Restoration Kit I have used.
I do a lot of detailing, and this is by far the best headlight restoration kit available. The chemical wipes work really well as a prep before sanding. The Ceramic final coat is what really puts this kit above everything else I have tried. Take your time, double tape the paint, and you will get great results.


