Cerakote Ceramics
CERAKOTE® Ceramic Headlight Restoration Kit
- SKU:
- AH-HLKIT
Videos Hide Videos Show Videos
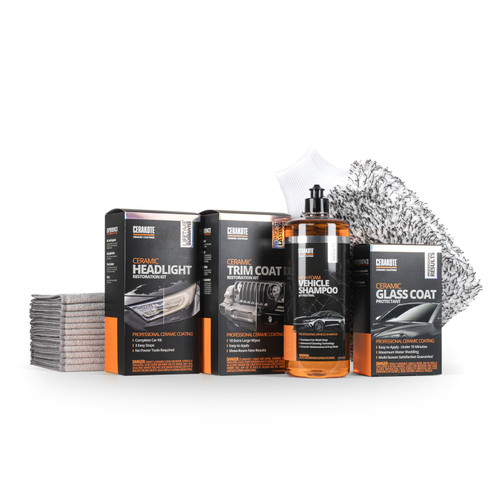
Cerakote Headlight Restoration is completed in 3 quick and easy steps, with no power tools required. Cerakote is different than other headlight restoration kits because we manufacture a true professional grade ceramic coating that chemically bonds to the headlights and provides UV protection that stands the test of time.
- Each kit Includes enough product to restore and protect 2 headlights. The contents of each kit are:
- (8) Step 1 Oxidation Removing Wipes
- (1) Sanding Pommel
- (4) Sanding Discs (2 of Each Grit)
- (2) Step 3 Ceramic Coating Wipes
See our application video and step by step instructions here
943 Reviews Hide Reviews Show Reviews
-
as advertised
Easy to use, looks great, now see how long it lasts....
-
Easy
Did the job, almost. Still have some imperfections, but huge improvement. Longevity, TBD. Overall, I'd recommend the product
-
The product delivers as stated.
The description of this product said that this would not need a power tool to repair the UV damage on the headlights. I bought the product and spent about 30 minutes using the product to restore the headlights and daytime running lights on my 2013 Honda Ridgeline. Prior to using the product one of my lenses was getting to the point where I could not see into the headlight but after the lens is clear and my lights are bright once again. The one caveat I would give is to be sure you tape off the area around the lenses to protect the surface from the sanding process. I look forward to seeing how it looks after a year or two of use.
-
Good Product! Great Company!
Before buying a new pair of headlights, I thought I would give this product a try first after reading positive reviews. Long story short, this product WORKS, and it's money well spent! Like some of the other users, I had messed up on Step 3 but the company addressed the issue when I reached out to them. To save time and trouble, when you do Step 3, make sure you wipe ONLY ONCE horizontally as instructed (and do not apply clear coat again on the areas you've already applied) as you won't be able to go back and "touch up" and fix any streaks caused by applying the clear coat more than once. Streaks will occur if you apply the clear coat more than once and trying to "touch up" to fix the streaks will result in making it worse.
-
Great product!
Watch the video and follow the directions for a fantastic result!\ NOTE: When applying the Ceramic coat (final step), don't go back over the area where you have already applied it. If more than a few seconds have elapsed, the coating will have already begun to dry and going back over it at that point will smudge it.
-
Great product!
Great stuff! Very clear and easy instructions, dont need to be a pro to do this. The results were amazing! Will definitely buy again.