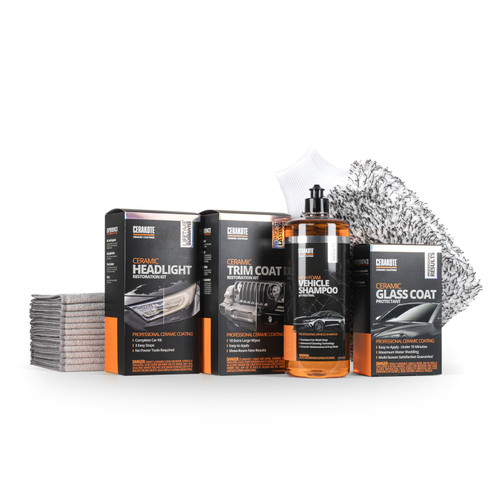
The Cerakote Headlight Restoration kit is completed in just 3 simple steps with no power tools required. What makes us different? We manufacture the true ceramic technology that bonds to your headlights, providing long-lasting UV protection that stands the test of time.
- Each kit Includes enough product to restore and protect 2 headlights. The contents of each kit are:
- (8) Step 1 Oxidation Removing Wipes
- (1) Sanding Pommel
- (4) Sanding Discs (2 of Each Grit)
- (2) Step 3 Ceramic Coating Wipes
951 Reviews Hide Reviews Show Reviews
-
Good product
Easy steps
-
An essential touch up! BUY IT NOW!!!
Should have taken a before and after. 2nd time I used a headlight restoration on my car. This one actually worked, my car looks and FEELS new again. No power tools needed... VERY HAPPY
-
but how long will it last?
2011 venza....really yellow....can barely see lights inside wasnt looking for perfection....followed instructions...plenty of sanding....looks better....def not anywhere near perfect. bottom line i think is how much your lights are oxidized..... some reviewers say lasts a long time......to me.....a long time is at least 3-5 years.....not 3-6 months note**** headlight definately prone to flying rocks over time....inevitible....and this stuff will chip....so take it with a grain of salt
-
Keep looking for a clearer way
Sub-par at best. One headlight came out just ok and the other looked completely terrible. The last wipe for the second headlight was practically garbage. This product will get some of the haze gone but it wont look as advertised. Im always very meticulous and follow directions to the T. The advertised example is practically used on a barely blemished headlight. I would NOT recommend this product. Im currently back in the market for another kit to fix what this one had messed up. ***product was used on a 2015 XV Crosstrek***
-
Compared to video - process = much harder; outcome = much, much worse
The process is not as easy as it appears to be in the video and my results were nothing like those in the video - indeed, my lights looked a bit better before using the product. I should have listened to my auto repairman and spent a few extra dollars and have it done right by a good detailer. Ugh - very disappointed with the money spent and the outcome!
-
Works great!
Amazing product...easy to use with clear beautiful results. Highly recommended.


